BRUSHLESS SETUP - GENERAL BUILD INFO
CONNECTING THE ESC SIGNAL WIRES TO THE FC
The simplest way is to solder the signal wire from each esc to the gate of each respective FET on the FC. No other modifications to the FC are required using this method. However, it requires reasonable soldering skills to solder a wire to the FET gate, and have a reliable connection, and without damaging other nearby components.
The images below show the location of the gates for a H101 FC:
Another method is to solder a resistor say 1K value (1000 ohms) across each motor pad + and -. In other words, one end of the resistor is connected to the motor - pad and the other end is connected to the motor + pad. Then the signal for the esc is taken from the motor - pad. The motor caps also need to be removed, they are the tiny light brown/tan coloured components and are also connected by copper traces to the motor - and + pads. There is one for each motor. They can be removed with a standard soldering iron by applying a small amount of solder to the iron, and then heating the whole body of the capacitor, and then moving the iron to each end of the cap, and it will soon come off the board and stick to the iron. The pic below shows the location of the motor caps on a H101 FC:
Don't forget to set the output signal polarity in the firmware, each method requires a different output signal polarity, because the signal is inverted when it passes through the FET. The esc's will not spin the motors if the polarity is set wrong. Refer to this page under the heading “How to set up PPM/Oneshot”.
POWERING THE FC
There are a few ways to do this. The flight controller has an onboard regulator, but it is limited to how much input voltage it can take without getting too hot. 5V is safe for these boards, and many of the regulators have a max input voltage of 6V.
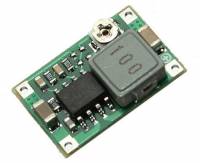
1. Use a voltage regulator (buck converter) from ebay or Banggood, I often use one with a variable output voltage set by a mini trimpot and set the output to 4V. It weighs around 1.6gm and works well. I am using this on several quads with no issues. To find one do a search for mini power module or mini step down or buck converter or use similar search terms. The disadvantage with this method is that you need to run a timer or low voltage buzzer so you don't completely flatten and damage your battery. Here is a pic:
2. Use one cell from your 2S or 3S quad battery. If you buy a mating balance connector, you can wire the negative and the first cell + to the FC to power it. This way the FC LED's will flash on low battery voltage.
3. Use an esc with inbuilt BEC, or a standalone mini 5V BEC. Run the 5V from the BEC to the battery terminals of the FC.
BLHELI
See in the screenshot of these esc's, all the settings are default except Startup Power. If a setting is not default, you get the little house symbol beside the slider. I would leave the Startup Power at 0.50 (or even less for 1105 and 1306 motors) and all else at default. If you are going to use PWM to drive the esc's, the “Enable PWM Input” must be turned ON. Programming by TX needs to be unticked also, otherwise sometimes the esc's can enter programming mode when you don't want them to.
Its a good idea to check each esc by connecting to BLHeli, hit Connect and then Read Setup, and make sure each esc has the exact same settings, and also the exact same firmware, and exact same firmware revision number. You can do it manually, or you can, if you want, do it this way: Read the first esc. If you are happy with the settings, (don't forget to untick the tx programming box), you can then click on ESC Setup/Save Setup to Ini File and save those settings in a file, give the file a name like XM20 1a or whatever so you can find it in the next step. Then Disconnect from that esc, and Connect to the next esc, go to ESC Setup/Read Setup From Ini File, find the file you just saved, and write those settings to the esc. After writing a setup, click on Read Setup to confirm the settings actually made it into the esc. Then click on Disconnect. Do that for the remaining 2 esc's too. That way, all 4 esc's will have identical settings.
PID SETTINGS
Here is a possible starting point for a 140-160mm quad. For a 120mm quad halve the D values. If its too doughy/very slow response, try the 2nd set below and go from there. (These are some approximate values from similar size quads I have.) Note there is no way your quad will fly properly on these exact settings, the chances of that are incredibly small. It's just a suggested starting point (I put here to save people from starting with values that are way too high).
float pidkp[PIDNUMBER] = { 4.0e-2 , 4.0e-2 , 2.0e-1 };
float pidki[PIDNUMBER] = { 2.0e-1 , 2.0e-1 , 1.0e-1 };
float pidkd[PIDNUMBER] = { 4.0e-1 , 4.0e-1 , 2.0e-1 };
float pidkp[PIDNUMBER] = { 6.0e-2 , 6.0e-2 , 3.0e-1 };
float pidki[PIDNUMBER] = { 3.0e-1 , 3.0e-1 , 2.0e-1 };
float pidkd[PIDNUMBER] = { 6.0e-1 , 6.0e-1 , 3.0e-1 };
TELEMETRY BATTERY VOLTAGE MONITORING FOR E011 FC
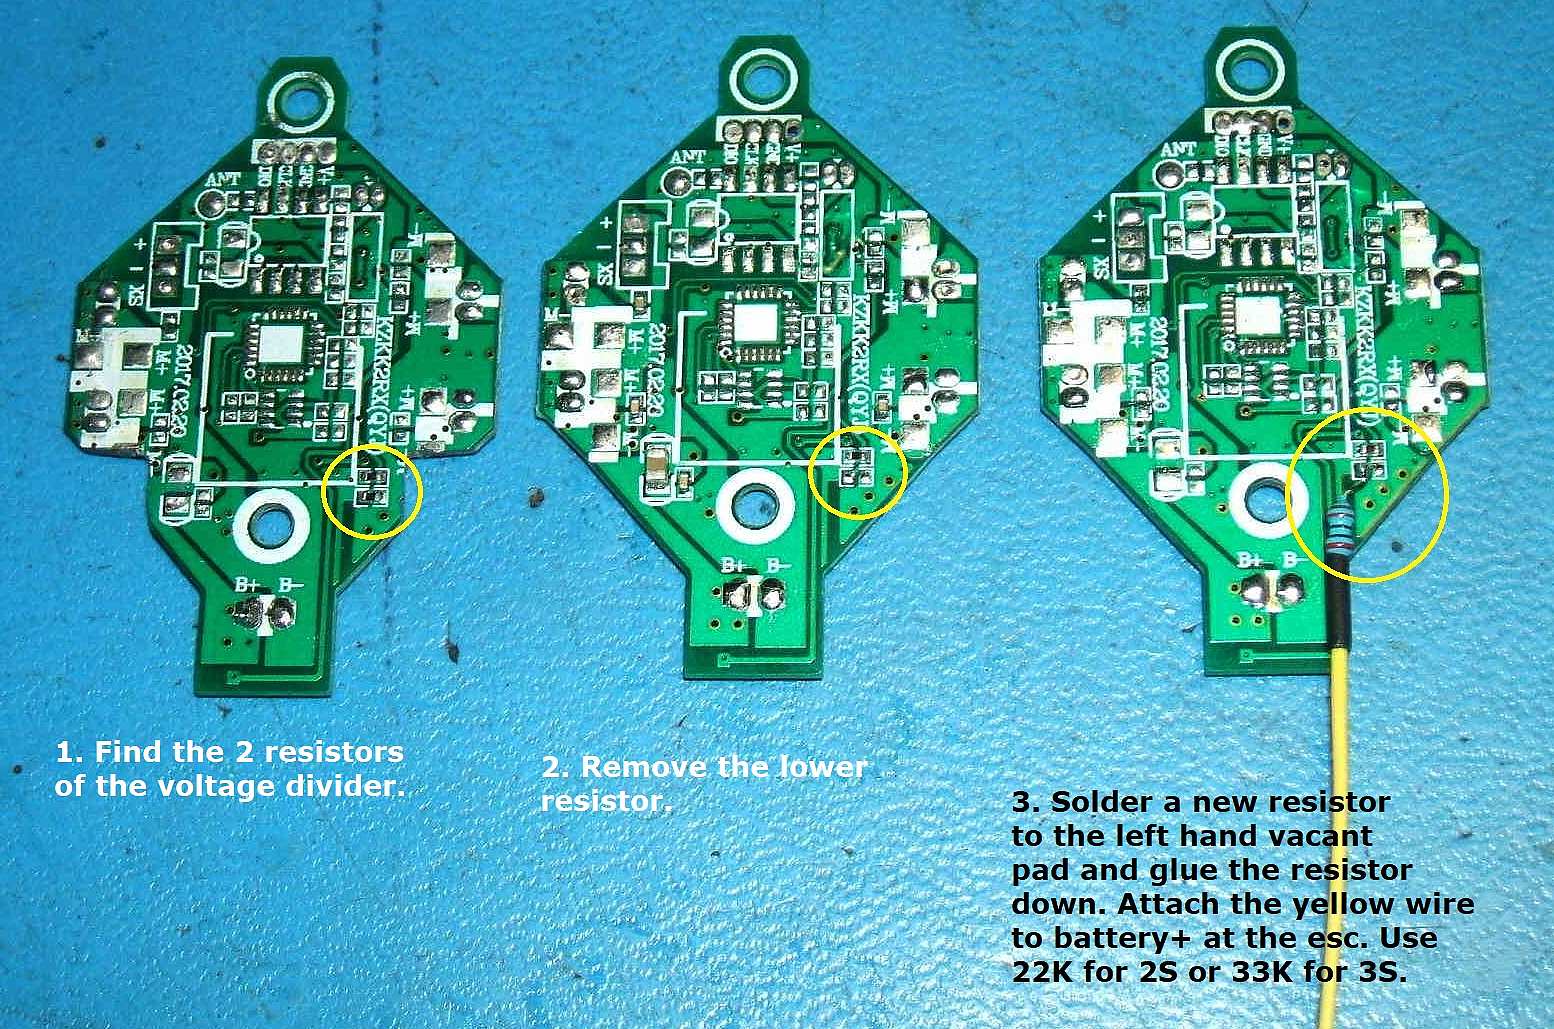
This E011 FC is powered by a 5V BEC so it needs an external battery voltage wire to monitor the batt voltage for telemetry. Where I soldered the blue 56k resistor to an existing resistor on the FC, I removed another resistor above that existing resistor, and a motor cap to the left for easier access for soldering (the cap is not needed for brushless). The yellow wire goes to battery + on the esc. Then the ADC_SCALEFACTOR calibrates the telemetry battery voltage. No other code changes are required. 39k to 56k will work fine for 2S and 3S. Use 56k for 4S. The blue resistor is glued to the FC for a bit of support.

TELEMETRY BATTERY VOLTAGE MONITORING FOR BWHOOP B-03 FC

